Getting started
Denrim: Forge is a focused 3D modeler for making game props, stylized figurines, logos, animated objects, and practical assets for 3D printing. Start with simple forms or imported SVG artwork, shape the model directly in the viewport, create UVs and paint textures, animate object transforms, then export when the asset is ready.
Available for Windows, Linux, macOS, and iPadOS. Download the Windows or Linux demo, or get the Mac and iPad versions on the App Store. iCloud features apply to the Apple versions. This guide uses the Apple interface; some controls differ on desktop.
Available now on the App Store.


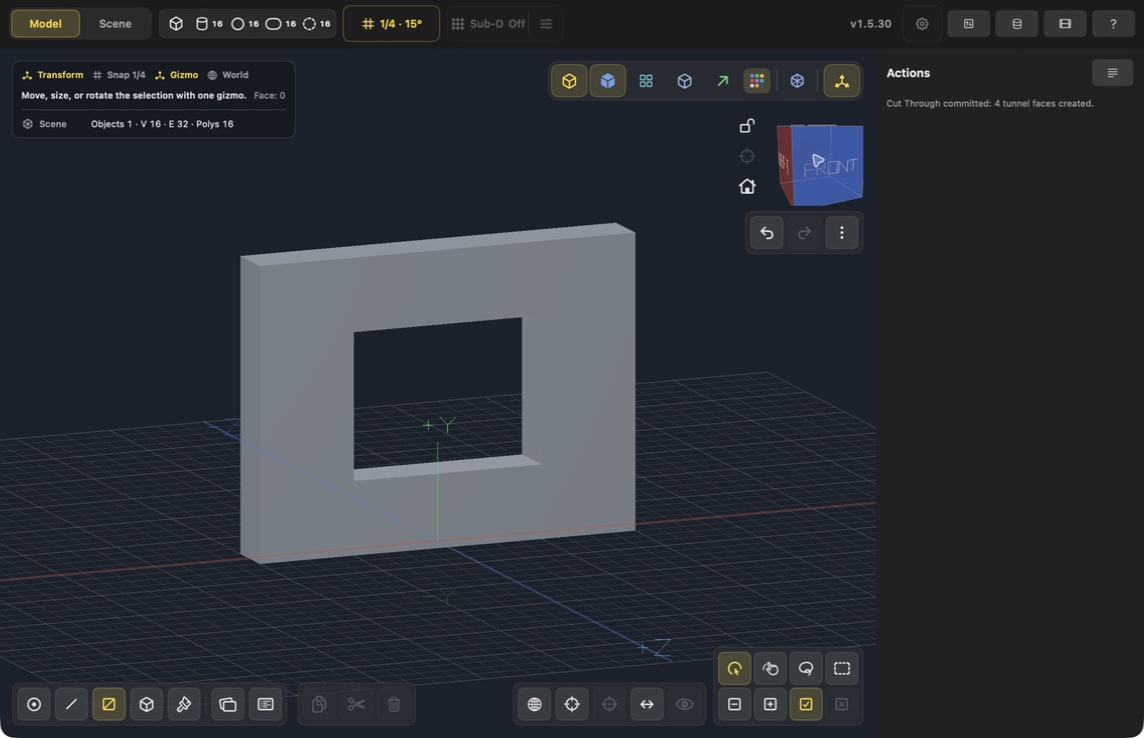
Current Mac interface, v1.5.30. Build this result in Make a window.
Set up your first document
Follow Before your first lesson to create a document, identify the main controls, select a face, and enter exact values. A new Mac document already contains one cube; keep it for the first exercise.
Find the right starting point
What do you want to do? maps common tasks to the right tool and explains confusing alternatives such as Join, Group, and Parent.
Learn with a complete example
Start with Learn by example. The illustrated lessons show how to make a raised panel, bevel and repeat a part, prepare UVs, and paint one face. Each includes the exact controls, a visible result, and troubleshooting.
Your first prop
- Begin with the cube already in a new document. Use the top primitive controls to add a Box, Cylinder, Sphere, Capsule, or Torus only when you need another part.
- In Object mode, use Transform to establish the overall silhouette. Drag its move, size, or rotation handles, or expand Detail for numeric Position, Scale, and Rotation.
- Switch to Face mode for major shape changes. Push/Pull, Extrude, Inset, and Bevel cover most prop-modeling work.
- Open the UV workspace when the asset needs a texture layout. Mark seams, unwrap the object, and pack its islands.
- Use Paint mode to apply PBR materials, face-level color, or brush-painted texture details.
- For an articulated or moving asset, organize its parts with Parent and Unparent, then open Animation to key position, rotation, and scale.
- Inspect the result with Studio/PBR, then export an OBJ, GLB, USDZ, STL, or PNG rendering.
Start from SVG artwork
Choose Import SVG from Import and Export to turn filled vector artwork into solid mesh objects. Set the target width, extrusion depth, and curve quality before importing. Combine paths into one object keeps a multi-path design together while preserving its individual path materials; turn it off when you want separate editable objects.
Filled paths, shapes, transforms, holes, and solid colors are supported. Convert text and strokes to outlines in the vector editor before importing them into Forge.
Learn in the app
Forge is designed to be learned while working. Turn on contextual help from the toolbar, then select a tool or command to see what it does, when to use it, and any selection requirements. Tool-specific controls also describe their purpose directly in the interface.
For a guided overview, start with the interface and navigation, continue with animation when an asset needs motion, then use the tool reference whenever you need a particular operation.
A few useful habits
- Begin with large, simple forms. Add detail only after the silhouette reads well.
- Choose the document's Units before precision work. Units change how measurements are interpreted and exported without rescaling existing geometry.
- Keep the grid snap active for clean proportions, and use Offset when a selection must move by an exact signed distance.
- Use organizational Groups for scene structure and Parent relationships when a child should follow another object's transform.
- Use Sub-D as a reversible smooth preview; use Freeze Sub-D only when you need real editable faces.
- Run Cleanup Mesh before export if you have made several topology changes.
- Use STL for printable geometry, and OBJ, GLB, or USDZ for broader asset pipelines.