Paint a prop in layers
Give a cube a dark base and a separate emissive panel, then change the panel without repainting the base. Screenshots show Mac Forge v1.6.39. The cube keeps its original geometry.
1. Create a base layer
- Start a new Model document with its cube selected. Choose Paint (
P). - In Layers, choose Add layer (+). Existing appearance is preserved as Base Paint and a new Layer 1 becomes active.
- Open Materials. Choose a dark palette swatch, or enter R 0.10, G 0.12, B 0.15 in the material fields, accepting each value with Return.
- Choose Fill object, the cube button in the floating paint tools, then click the model.
The dark paint belongs to Layer 1. Base Paint remains below it. Object fill is a paint tool, not the bottom Object selection mode.
2. Add an independent panel
- Choose Add layer again. Select its pencil/name control and rename the new layer Panel.
- Choose Glow from the quick palette. Confirm its name in Materials before filling.
- Choose Fill face, the square button beside Fill object, then click one clear cube face.
- Toggle Panel's eye off and on. The dark base remains and the bright face returns independently.
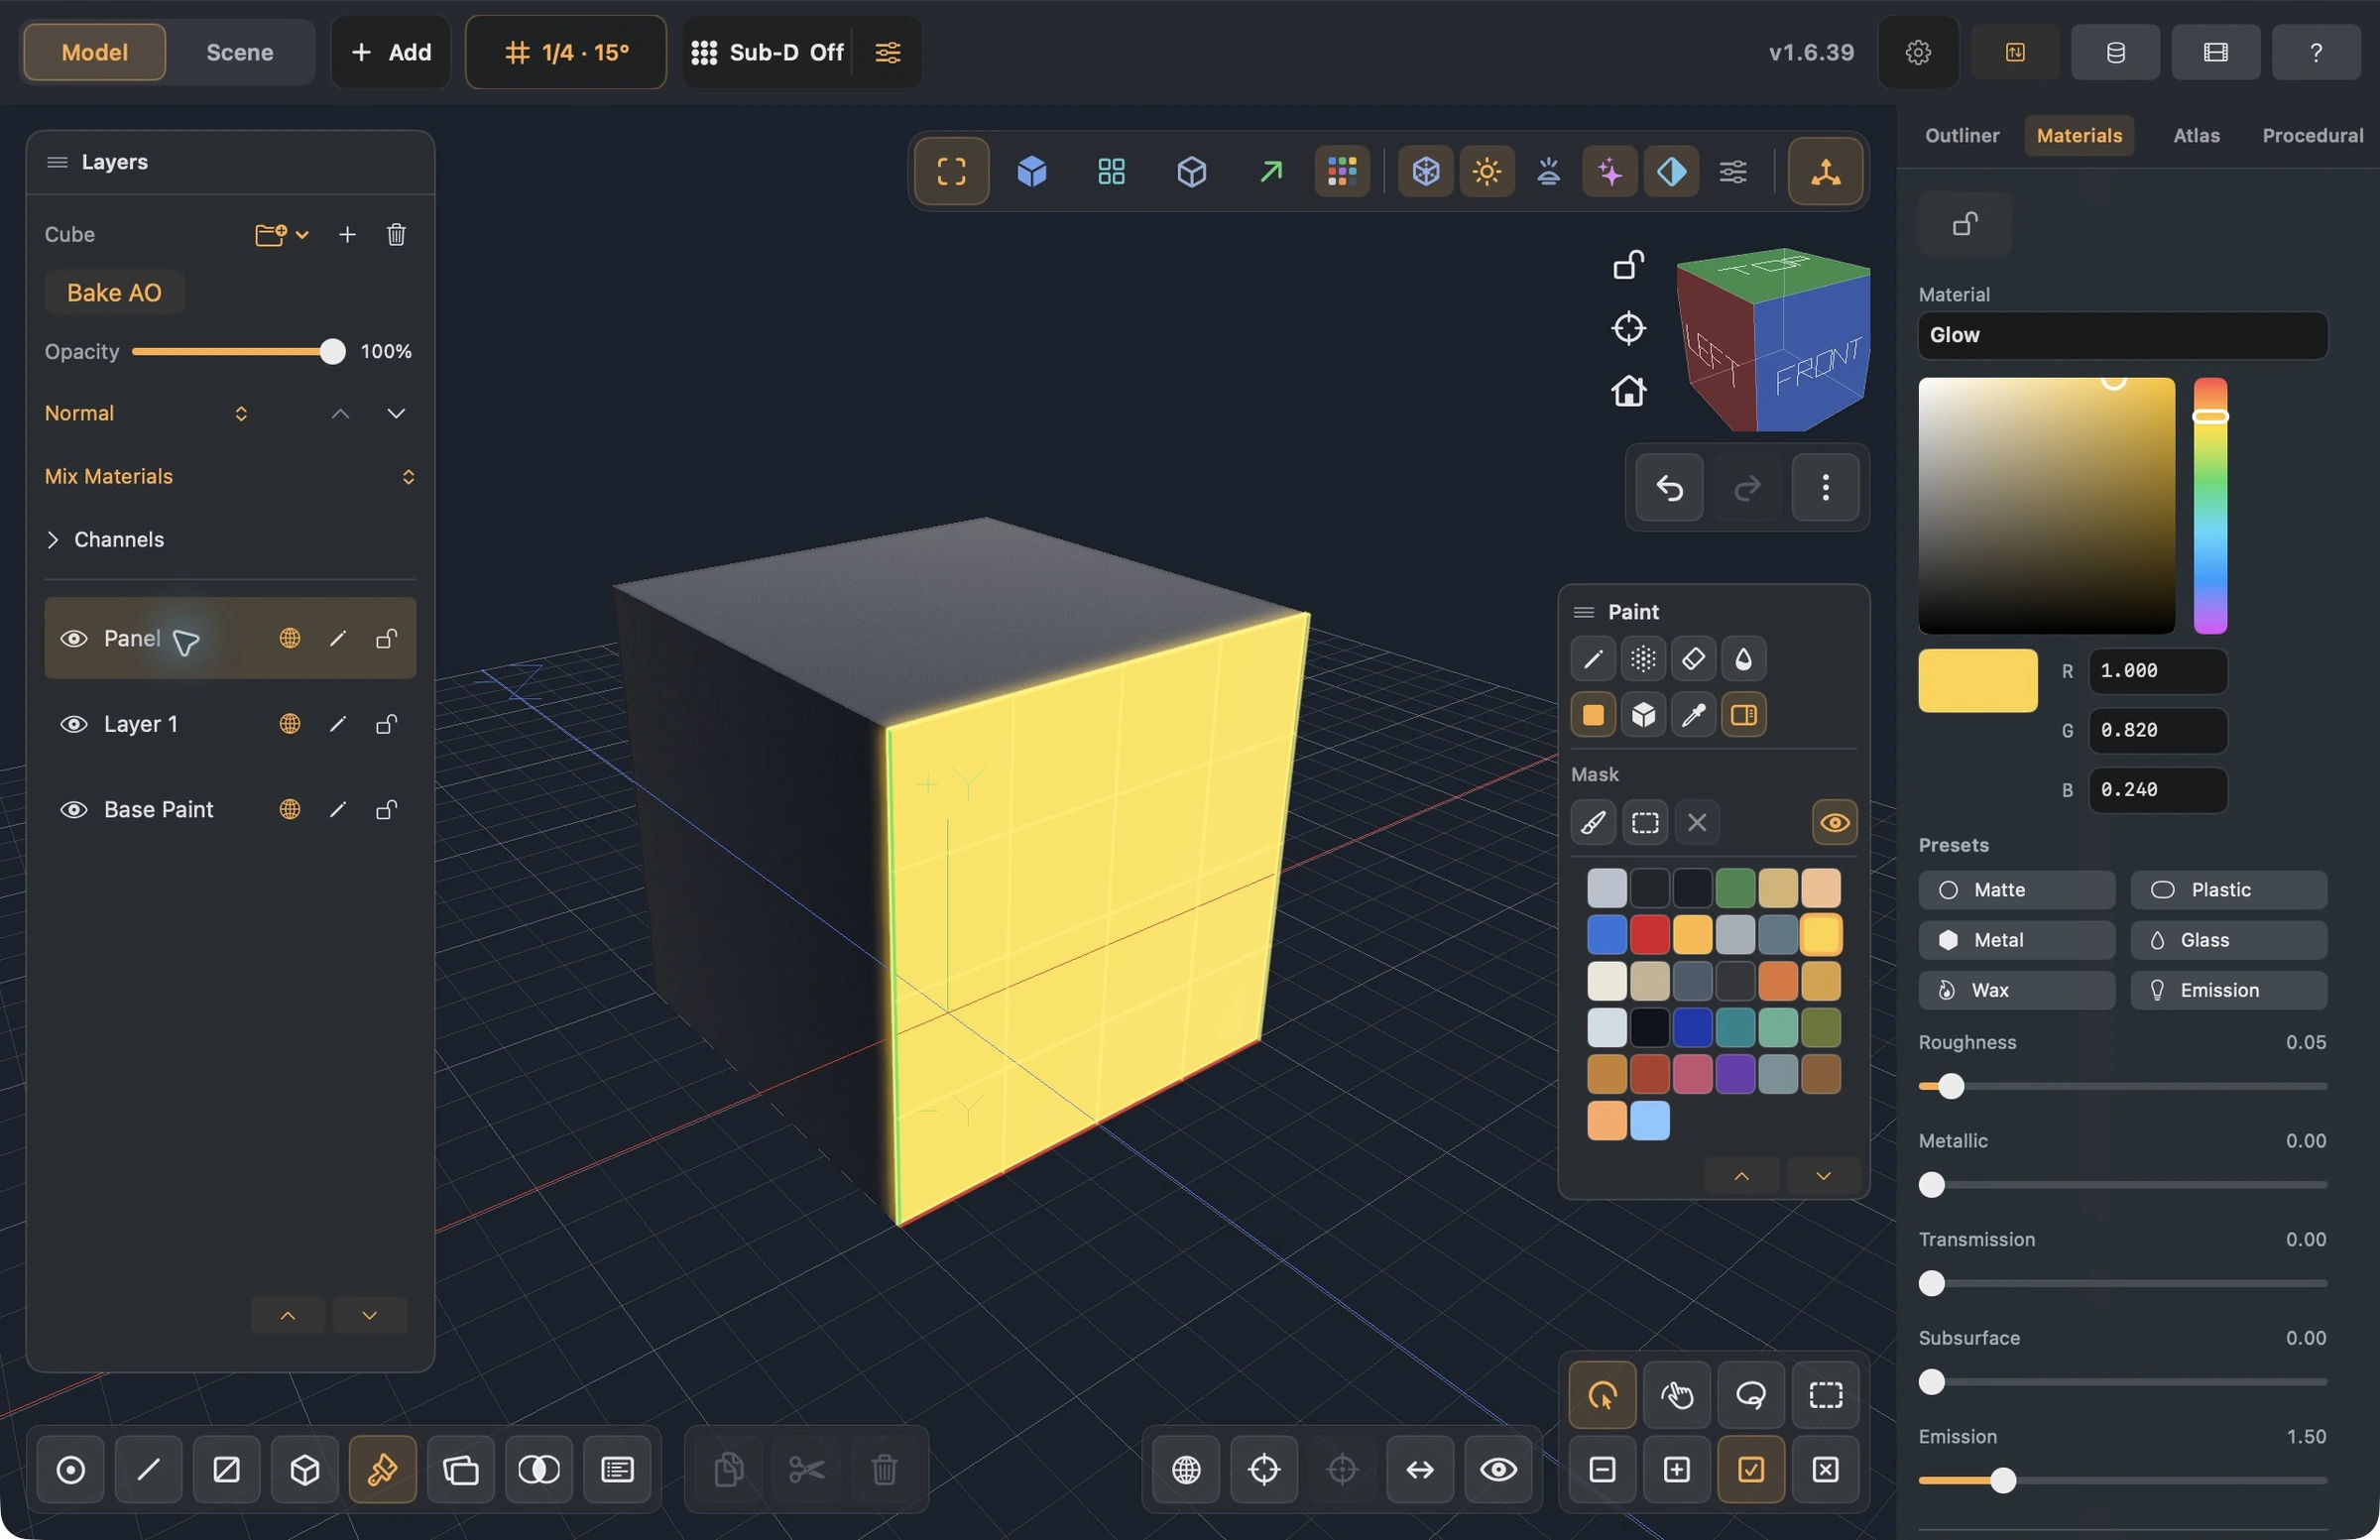
Set Panel opacity to 60% and compare it with 100%. This changes the entire layer. Brush Opacity instead controls a stroke's strength; it does not retroactively change earlier strokes. Glow is emissive, so its brightness also depends on the renderer and emission settings.
You can lock Panel before painting another layer. A locked layer is visible but cannot receive paint. Use the folder menu to organize layers without flattening them.
3. Protect a patch of texture
- Leave Panel active and unlocked. Choose Mask Brush in the paint tools' Mask row.
- Dab or drag over a small patch of the face. The dark overlay indicates protected pixels.
- Return to Pencil or Erase and try a stroke across the protected patch. Only unprotected texture pixels should change.
- Use Undo to remove the trial stroke. Clear Mask removes protection and the face restriction, preserving all paint layers.
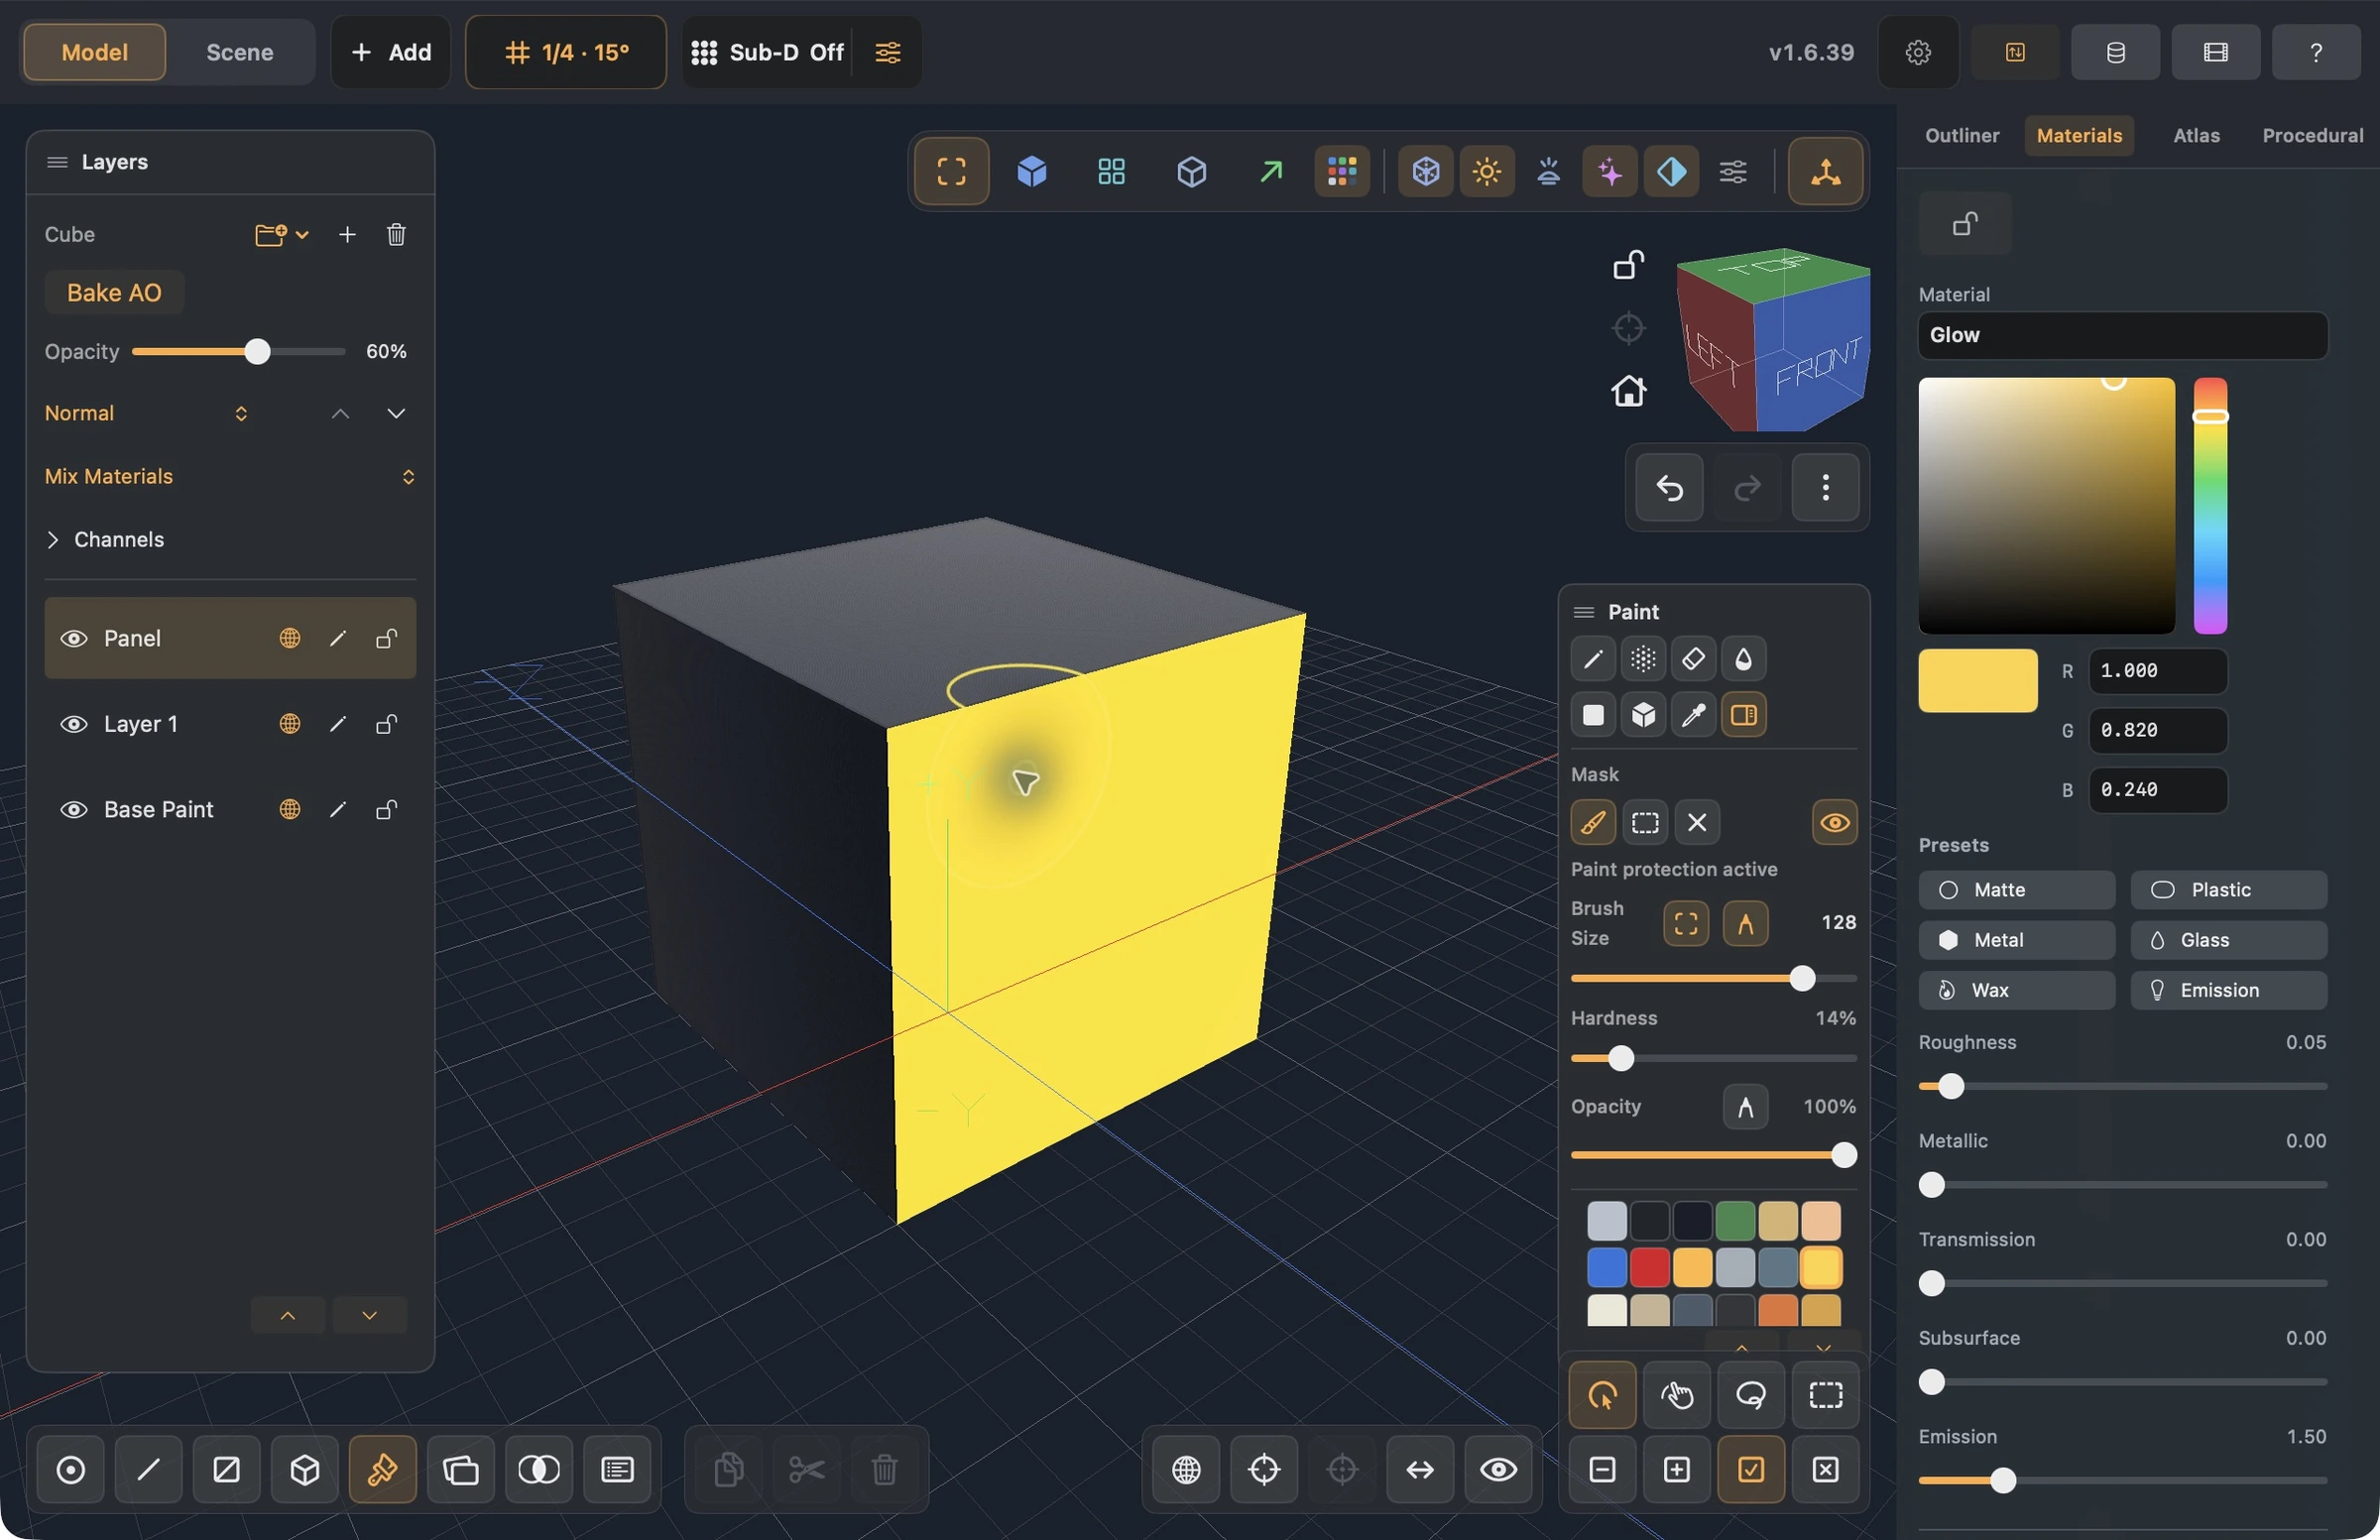
Protection applies across layers, not only the active one. Rectangle and lasso masks are useful for larger regions. Check Ignore Back Faces before selecting through a surface.
4. Inspect the same paint in Atlas
Open Atlas. The active layer, brush tool, and protection stay available. Enable UV Outlines to inspect the surface boundaries; Reset View restores the framing.
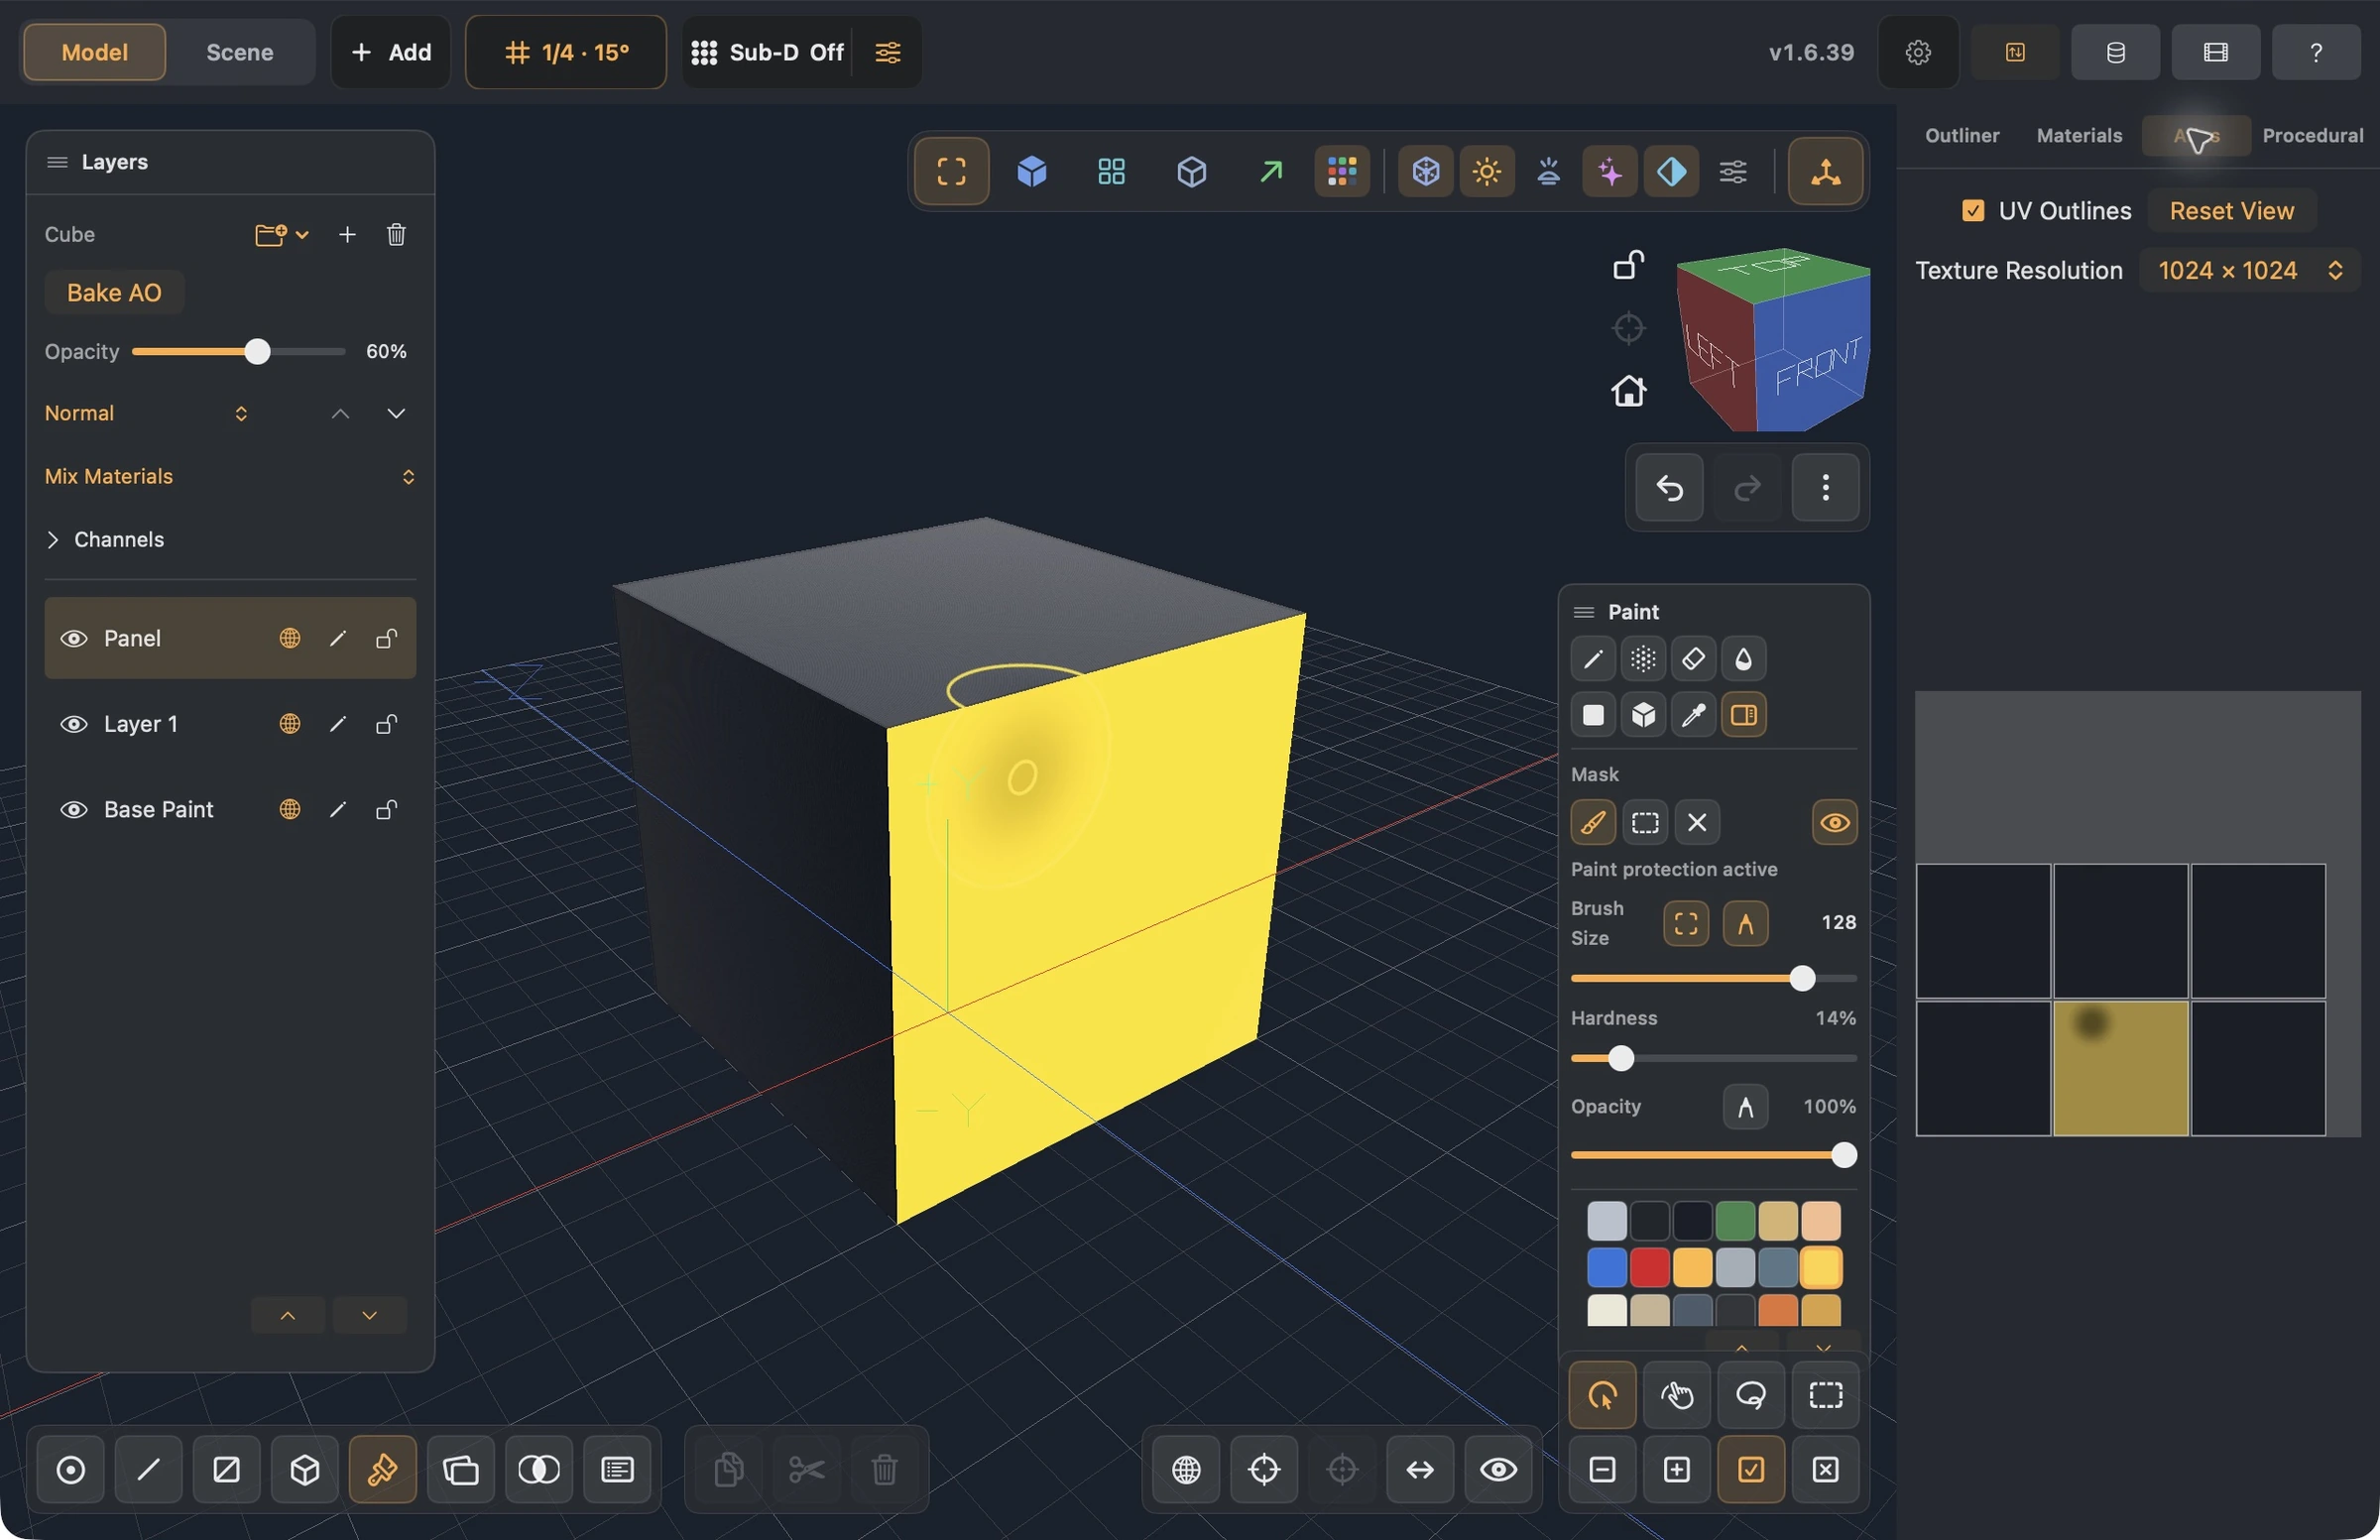
Keep 1024 × 1024 for this exercise. On a larger asset, choose a supported Texture Resolution before fine detail. Resizing preserves UV positions and layers and can be undone; it does not create missing painted detail.
If a design repeats on unrelated faces, inspect UV overlaps. Use the UV workspace's Auto Generate UVs for a separated packed layout, or create deliberate seams and unwrap. Existing paint is reprojected; inspect the result before continuing.
5. Try another finish without destroying the base
- Erase: erase only from Panel to reveal the dark paint below it.
- Smooth: blend paint on the active layer; desktop Shift while brushing temporarily smooths.
- Airbrush: use Flow for gradual build-up and Opacity as its limit.
- Poly Haven: add a new layer, open its globe, choose a material and resolution, then Use for painting or Fill layer. The latter respects protection and leaves other layers intact.
- Bake AO: run the bake and compare its new Multiply layer using eye and opacity. A simple convex cube may show little self-occlusion; use a recessed prop for a stronger demonstration.
6. Save the editable source
Save the Forge document to retain layers, masks, and UVs. Exported textures resolve the combined appearance; they do not replace the editable stack. On iPad, check whether automatic saving is enabled; in manual mode use Save before leaving and wait for it to complete.
Continue with Create a procedural brush, Texture a prop for deliberate seams, or Rendering and export.